
How to Make a Personalized Children's Book (Step by Step)
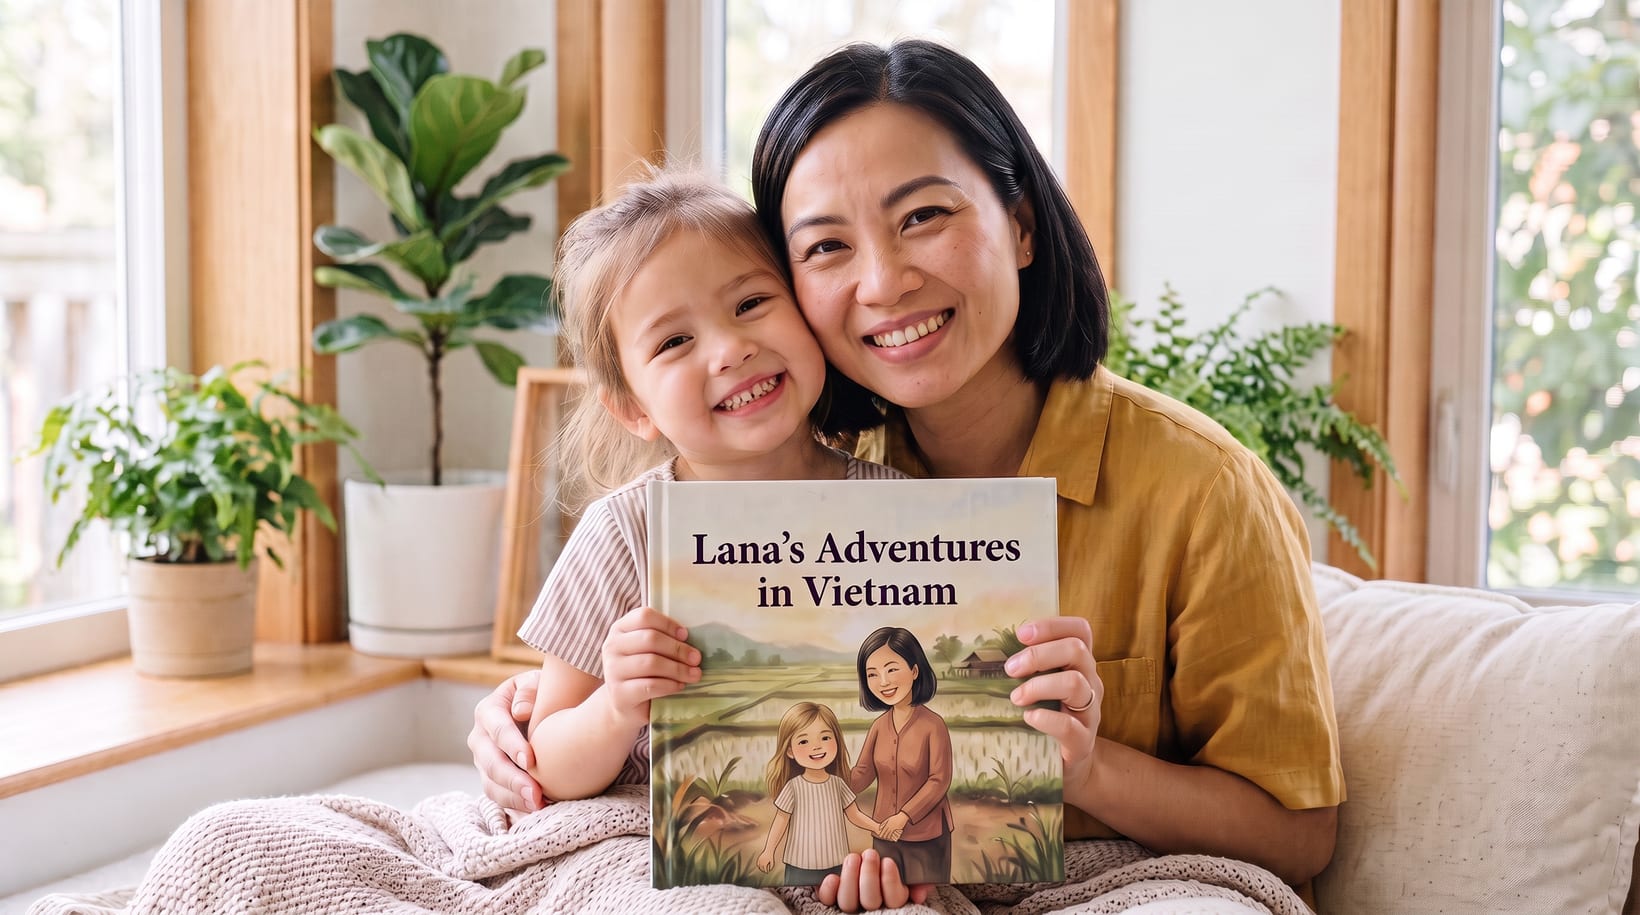
A personalized children's book is one of the most meaningful gifts you can give — and, until recently, one of the hardest to make. Writing is only the beginning; you also need consistent illustrations, a clean layout, and a way to actually print it. This guide walks through the whole process from a single idea to a hardcover in your hands, and shows how a tool like Adelynne collapses days of work into a single afternoon.
1. Start with the story
You have two easy paths:
- Bring your own words. If you already have a manuscript, you're most of the way there — you just need it illustrated, laid out, and printed.
- Generate one. If you only have a spark, tell Adelynne who the book is for, their age, what it should celebrate — kindness, courage, your culture — and a special detail that makes it theirs (a love of dinosaurs, a sport, a family tradition). You can choose rhyming or prose, then edit the story line by line.
Either way, keep the story short. Picture books work best at roughly 20–24 pages with one clear idea per page. Resist the urge to cram; white space and a single strong image per spread are what make a book feel professional.
2. Lock in your character before you illustrate
This is the step most homemade books skip — and it's why they fall apart. If you illustrate each page independently, your hero's hair, clothes, and face drift from page to page, and the book stops feeling like one story.
The fix is to define your character once and then reference that same character on every page. Adelynne lets you describe how they look, upload a photo, or have a character designed for you — then anchors each illustration to that locked reference, so your hero looks like the same hero from the cover to the final page.
Consistency is what separates a real picture book from a pile of pretty pictures.
3. Choose one art style — and stick to it
Pick a single look for the whole book. Adelynne currently offers three: Soft Watercolor, Textured Paper, and Storybook Ink. Mixing styles mid-book is the fastest way to make it feel amateur. Choose the style that matches the mood of your story and let every page share it.
4. Get the text exactly right
Here's a subtle but important point: the words on the page should be real typographic text, not lettering drawn into the illustration. Hand-drawn or AI-drawn text is where books get garbled and misspelled. Adelynne sets your story as actual type over the artwork, so every printed word is exactly what you wrote.
5. Preview the whole book
Before you spend a cent on printing, read the book cover to cover the way a child will. Check the pacing, fix any wording, and regenerate any single illustration that isn't quite right. A quick note — "make it nighttime," "add her red boots" — is usually all it takes.
6. Print a real hardcover
A finished PDF is nice, but a book you can hold is the keepsake. Look for print-on-demand with no minimum order so you can make just one copy. Adelynne prints a square 8.5″ × 8.5″ full-color hardcover, 18 pages, and ships it to your door — a complete book, including illustrations, layout, printing, and U.S. shipping.
How long does it take?
Writing and illustrating a full book with Adelynne takes minutes, not days. Once you order, the hardcover is printed on demand and shipped; the exact production and delivery window is shown at checkout before you pay.
The short version
- Write your story, or generate one from a name, a theme (including a culture), and a special detail.
- Lock in your character — describe them, upload a photo, or have one designed — so they stay consistent.
- Pick one of three art styles for the whole book.
- Keep the text as real type, not drawn lettering.
- Preview every page and refine what you want.
- Order a printed hardcover with no minimum.
That's the entire process — and Adelynne handles the hard parts for you. If you've got a story (or just the beginning of one), you can start right now.
Make your book today.
Write it or generate it, watch it come to life, and hold the finished hardcover in your hands.
Join the list